 This is the card that I was making when I needed the scalloped edge.
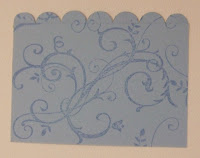 This is the template I used to make my edge.
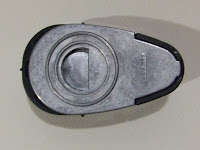 This is the bottom of my Stampin' Up! Slit Punch.
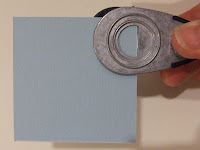 For this example, I used another piece of blue cardstock like the one that I used for my original template. (Just to let you know it's a darker blue on one side.)
I used my Slit Punch to make the scallops by turning the punch over so that you can see the bottom and lining the flat part of the half moon up with the edge of my card stock.
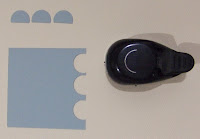 Here I show you that I've punched out a few scallops and what the little half moon scallops look like, along with the top of the SU Slit Punch.
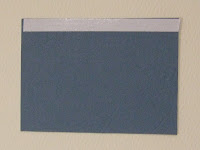 Now you're ready to flip the card stock over and apply a strip of double sided tape to the back of your template.
 Remove your adhesive strip and apply the little scallops in a row as neatly as you can line them up.
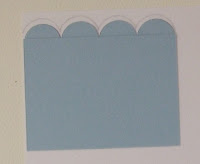 After you've added the scalloped, this is what you'll have for a template. Now, simply line the template up to where you want your new scallops to be (In this example, I chose a piece of white card stock.)
Trace the scallops using your template with a pencil so that you can erase them later.
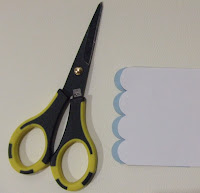 Use your scissors to cut out the scallops, again as neatly as you can, then erase any pencil lines that may still be showing. Viola, you have a scalloped edge! (I just added the blue template in the background so that you could see the white scallops on the cream coloured background paper.)
I know this is a bit of work, but I think it makes a nice edge and makes it worth while. After all, putting a bit of work into your card is half the fun!
Now, go have some fun making some scallops of your own! :)
Thanks for stopping by!


.jpg)


1 comment:
Saw this card earlier, it is lovely, thanks for the tutorial, love that stamp set and the colors you used.
Post a Comment